
Essential Guide to Replacing Garage Door Cables
- Bradley Frank
- Nov 12, 2024
- 2 min read

How to Replace Broken Garage Door Cables: A Step-by-Step Guide
Broken garage door cables are one of the most common issues homeowners face, and while they may seem like a simple fix, they are crucial components of your garage door system. Cables transfer the energy from the springs to lift and lower the door, and they also serve as a safety measure to prevent injury in the event of a spring failure. If you find yourself with a broken cable, it’s important to replace it properly to maintain the safety and functionality of your garage door.
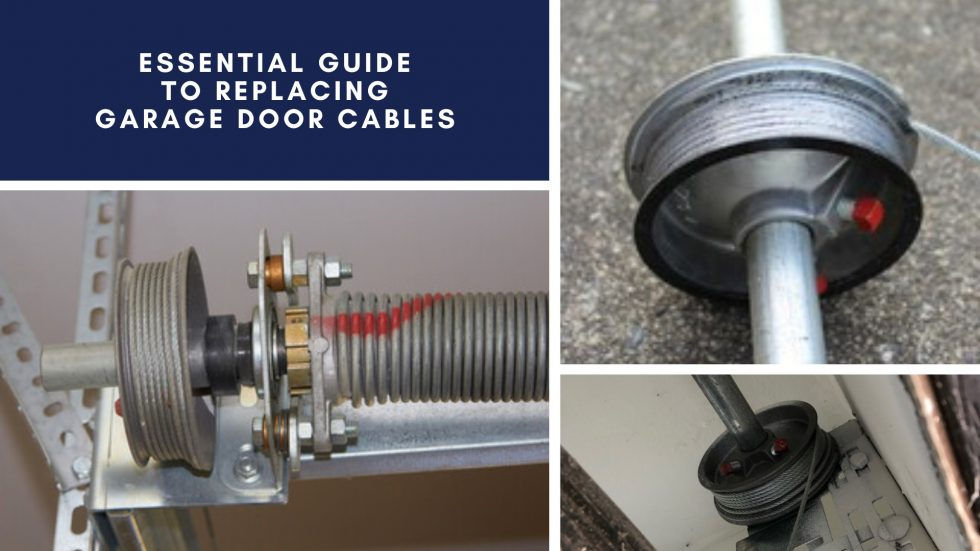
Two Types of Garage Door Cables
There are two primary types of cables on most garage doors: lifting cables and safety cables. The lifting cables are responsible for transferring the energy from the torsion springs to lift and lower the door. The safety cables, on the other hand, are there to help prevent serious injury in case the springs break or become detached. Both cables are essential for the safe operation of your garage door, and replacing broken cables promptly is crucial.
Essential Guide to Replacing Garage Door Cables
Step 1: Prioritize Safety Before beginning any repair, safety is your first concern. Garage door systems, especially those with torsion springs, can be dangerous. It’s recommended to have someone assist you during the process. Additionally, always wear protective gloves and eye protection to shield yourself from flying debris and sharp parts.
Step 2: Uninstall the Broken Cables Start by opening the garage door as far as it will go. Use a step ladder to reach the components at the top of the door. Secure the door with locking pliers or C-clamps under the rollers to prevent any movement. Identify which cable is broken and locate the winding drum at the top of each side of the door. The broken cable will likely be disconnected from the drum, and you’ll need to unwind it from the drum pin. Carefully pull the cable out from under the door.
Step 3: Install the New Cables Once the old cable is removed, it’s time to install the new one. Make sure the replacement cable matches the original in length and diameter to avoid future issues. Inspect the new cable for any fraying or damage before use. Insert the end of the cable (without the loop) into the notch of the winding drum, then attach the looped end to the pin on the bottom of the door. Once secured, remove the clamps and ladder, and test the door’s operation to ensure it opens and closes smoothly.
Need Help? Call Fixxed Garage Doors If you're not comfortable tackling this project yourself, or if you're in need of professional assistance, contact Fixxed Garage Doors. We offer comprehensive garage door cable installation, repair, and maintenance services. Our experienced technicians ensure that your garage door is operating safely and efficiently. Contact us today for a free estimate and expert service!


Comments